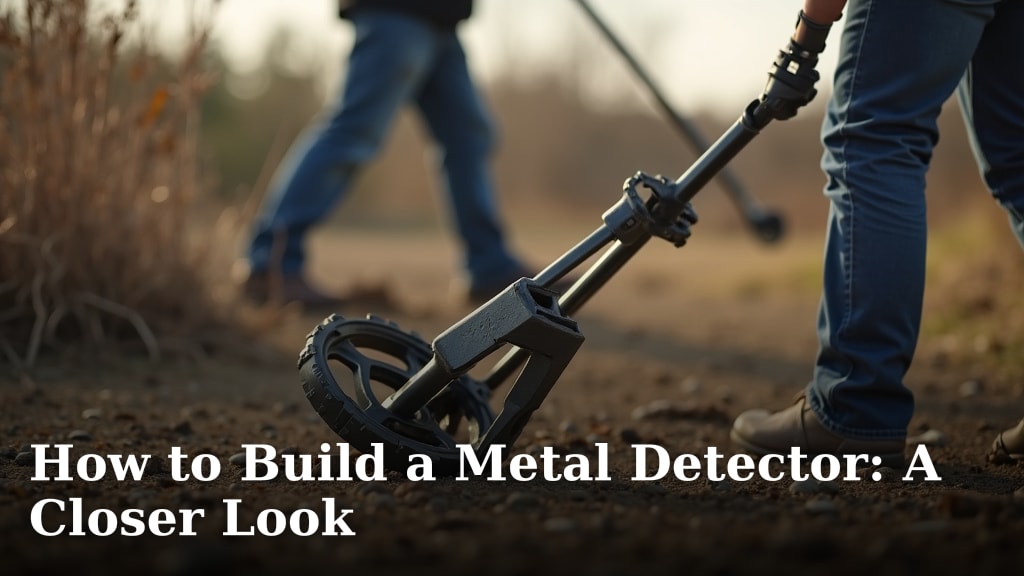
How to Build a Metal Detector: A Closer Look
Yes, you can build your own metal detector, and it can be a fun and rewarding project. While professional models offer advanced features, a DIY metal detector can still be effective for finding coins, jewelry, and other metal objects. It requires some basic electronics knowledge and careful assembly.
Building your own metal detector involves understanding how different electronic components work together. You’ll learn about coils, capacitors, and oscillators. Many hobbyists find success with simple circuit designs, proving that you don’t need a huge budget to start detecting. This project offers a great way to learn about electronics.
- Building a metal detector is possible for hobbyists.
- It requires understanding basic electronic parts.
- DIY detectors can find common metal items.
- It’s a great learning experience for electronics.
Ready to get your hands dirty? Below, we’ll walk you through the essential steps and components you’ll need to build your very own metal detector.
Constructing Your Own Metal Detector
Building your own metal detector can be a fun and educational project. You’ll learn about electronics and have a working device afterward. This guide will walk you through the basics.
You don’t need to be an electronics wizard to start. Many simple designs are available for beginners. These designs use common parts and are easier to assemble.
Understanding the Core Components of a Metal Detector
A metal detector works by creating an electromagnetic field. When this field hits a metal object, it creates a disturbance. The detector then senses this disturbance and signals you.
There are several types of metal detector circuits. The most common for DIY projects are VLF (Very Low Frequency) and PI (Pulse Induction) circuits. VLF detectors are generally better for distinguishing between different metal types. PI detectors often perform better in mineralized soil.
The Search Coil: The Detector’s ‘Ear’
The search coil is perhaps the most important part. It’s what sends out and receives the electromagnetic field. Most DIY detectors use a concentric coil or a double-D coil. Concentric coils look like a spiral. Double-D coils are shaped like the letter ‘D’ placed side-by-side.
The size of the coil affects its performance. Smaller coils can find smaller objects and offer better pinpointing. Larger coils can scan a wider area and detect deeper targets. Many builders start with a coil around 6 to 8 inches in diameter.
The Control Box: The Detector’s ‘Brain’
The control box houses the electronics. This is where the signal from the search coil is processed. It contains the circuit board, battery, and controls for the detector.
A basic control box needs an oscillator to generate a signal. It also needs a way to detect changes in that signal when metal is present. Amplifiers boost the signal so it can be heard. Finally, a speaker or headphones provide the audio feedback.
Key Electronic Components You’ll Need
Building a metal detector involves several common electronic parts. You’ll need resistors, capacitors, transistors, and an integrated circuit (IC). An IC is like a small electronic chip that performs many functions.
You’ll also need a battery to power everything. Many DIY designs use a 9-volt battery, which is widely available. A power switch is also necessary to turn the device on and off.
The Shaft and Handle: Making it Usable
The shaft connects the control box to the search coil. It needs to be sturdy but lightweight. You can use PVC pipes or even wooden dowels for this. Many builders find adjustable shafts to be very comfortable.
The handle should be ergonomic for comfortable use. It should allow you to swing the detector for extended periods without fatigue. Some designs include an armrest for added support.
Choosing a Metal Detector Circuit Design
For your first build, a simple VLF circuit is often recommended. These circuits are easier to understand and assemble. They use fewer components, which can reduce the chances of error.
Many online resources and hobbyist forums offer free schematics and build guides. We found that looking for designs labeled as “beginner-friendly” or “easy to build” is a good starting point. These often come with detailed instructions and component lists.
VLF vs. PI: What’s the Difference for You?
VLF detectors work by using two coils: a transmitter coil and a receiver coil. The transmitter coil sends out a low-frequency electromagnetic field. The receiver coil picks up any changes caused by metal objects. VLF detectors can sometimes discriminate between types of metal. This means they can be set to ignore iron or foil.
PI detectors use a single coil that acts as both a transmitter and receiver. They send out short pulses of magnetic energy. When these pulses hit metal, they create a secondary field. The coil then detects this secondary field. PI detectors are generally less affected by minerals in the soil. They tend to be better for finding targets in saltwater beaches or highly mineralized ground. However, they often have less discrimination ability.
Where to Find Reliable Schematics
Many websites cater to electronics hobbyists. You can find detailed circuit diagrams, parts lists, and assembly instructions there. We found that popular electronics magazines also often feature DIY project plans. Searching for “DIY VLF metal detector schematic” or “easy pulse induction metal detector plans” can yield good results.
Always check the source of the schematic. Look for sites with active communities or positive reviews. This helps ensure the design is well-tested and the instructions are clear.
Step-by-Step Assembly Guide (General Overview)
Building your metal detector involves several stages. First, you’ll gather all your components and tools. Then, you’ll assemble the search coil. After that, you’ll wire the electronic circuit. Finally, you’ll put it all together in the control box and mount it on the shaft.
Preparing Your Workspace and Tools
A clean, well-lit workspace is essential. You’ll need basic tools like a soldering iron, wire strippers, pliers, and screwdrivers. Safety glasses are a must when soldering or cutting. Static-free mats can help protect sensitive electronic components.
It’s helpful to have a magnifying glass for detailed work on the circuit board. Keeping your components organized will prevent confusion during assembly.
Assembling the Search Coil
This is often the most challenging part for beginners. You’ll need to wind the wire for the coil around a form. The number of turns and the winding pattern are critical for the coil’s performance. Some kits come with pre-wound coils, which can simplify this step.
Once wound, the coil needs to be secured and weatherproofed. Encasing it in epoxy or resin is a common method. This protects the wire from damage and the elements.
Wiring the Electronic Circuit
This step requires careful attention to detail. You’ll solder components onto a circuit board or wire them according to the schematic. Double-checking your connections is vital to avoid mistakes. A faulty connection can prevent the detector from working.
Many builders use perfboard or stripboard for their circuits. Following the schematic precisely is key. It’s helpful to test parts of the circuit as you go, if possible.
Putting It All Together: The Final Build
Mount the control box onto the shaft. Connect the search coil cable to the control box. Install the battery and switches. Test the audio output. Ensure all connections are secure and insulated.
Make sure the coil is securely attached to the shaft and positioned correctly. A loose coil can cause false signals. Your detector should now be ready for its first test swing!
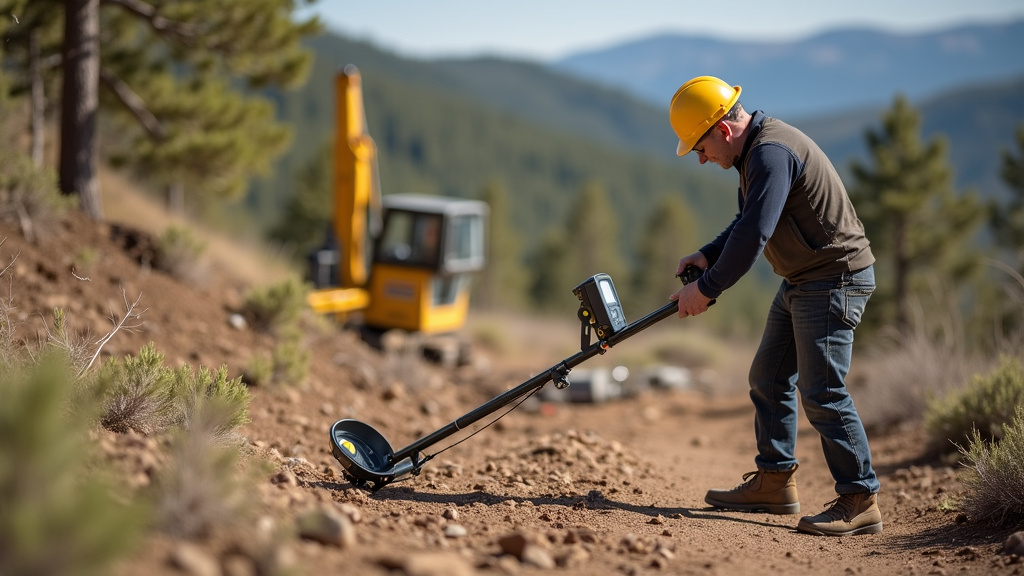
Testing and Calibration: Fine-Tuning Your Detector
Once assembled, your metal detector needs testing. You’ll want to see how it performs with different metal targets. Calibration ensures it’s working as intended.
Initial Test Swings
Start by testing your detector over known metal objects in a controlled environment. A backyard or park is ideal. Use common items like coins, keys, and aluminum foil.
Listen to the audio response. Does it signal clearly when metal is present? Does it signal when no metal is around (false signals)? Your goal is a clear, repeatable signal over metal.
Understanding Discrimination Settings (If Applicable)
If your circuit includes discrimination, you’ll need to learn how to use it. This feature helps ignore unwanted metals. Experiment with different settings to see what works best for your targets. Many experts suggest starting with minimal discrimination to ensure you don’t miss good targets.
For example, you might set it to ignore iron nails but detect coins. Understanding how different metals affect the signal is part of the learning process. This often requires a bit of trial and error.
Essential Checklist for Your DIY Metal Detector Build
Here’s a quick checklist to keep you on track:
- Gather all necessary electronic components and tools.
- Secure a reliable circuit schematic and follow it precisely.
- Assemble the search coil with care and ensure it’s weatherproofed.
- Solder all circuit connections accurately.
- Test the detector thoroughly after assembly.
- Calibrate settings for optimal performance based on your needs.
Conclusion
Building your own metal detector is a realistic and rewarding project. You’ve learned that it’s achievable with basic electronic knowledge and careful assembly. From understanding coils and control boxes to wiring circuits, you can create a functional device. This DIY approach offers a fantastic way to learn about electronics and enjoy the thrill of discovery. Your next step is to choose a beginner-friendly circuit design and gather your tools. Start small, be patient, and enjoy the process of bringing your metal detector to life!
Frequently Asked Questions
What are the main types of metal detector circuits for DIY projects?
The most common types for home builders are VLF (Very Low Frequency) and PI (Pulse Induction) circuits. VLF detectors are good for distinguishing metal types, while PI detectors often work better in mineralized soil.
Can a DIY metal detector find valuable items like gold or silver?
Yes, a properly built DIY metal detector can find items like coins, jewelry, and other metal objects, which may include gold and silver. Performance depends on the circuit design, coil size, and your careful assembly.
How difficult is it to assemble the search coil?
Assembling the search coil can be the most challenging step for beginners. It requires precise winding of wire. Some kits offer pre-wound coils to simplify this part of the process.
Where can I find reliable schematics and build guides for DIY metal detectors?
You can find schematics and guides on electronics hobbyist websites and forums. Many electronics magazines also feature DIY project plans. Look for designs marked as “beginner-friendly” for the easiest start.
What basic tools will I need to build a metal detector?
You’ll need common tools such as a soldering iron, wire strippers, pliers, and screwdrivers. Safety glasses are also essential for protecting your eyes during assembly.